

Format: Practical Tutorial with Process Breakdown
Introduction
Wireframing is the bridge between abstract ideas and tangible interfaces. For beginners, it is often the first moment when design thinking becomes visible. Day 6 focuses on building wireframes not as sketches, but as problem-solving tools.
Step 1: Define the Problem Clearly
Before drawing anything, articulate the problem statement. Example: “Users are unable to find key information within three clicks.” This clarity drives layout decisions.
Step 2: Understand User Flow
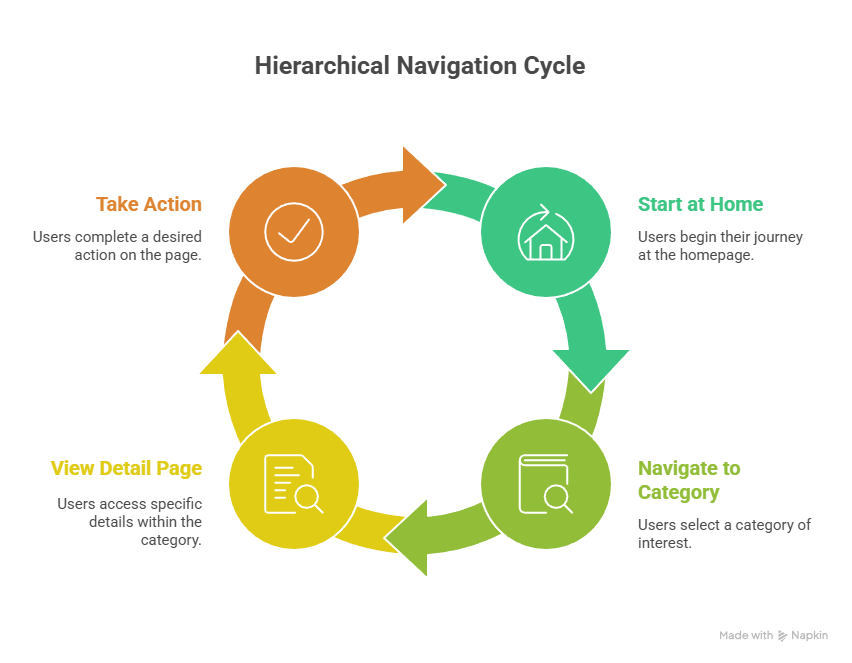
Map the journey from entry point to goal completion.
Hierarchical Flow Diagram:
Step 3: Low-Fidelity Sketching
Start with pen and paper or grayscale blocks. Avoid colors and fonts. Focus only on:
- Placement
- Priority
- Navigation
Step 4: Digital Wireframing
Translate sketches into digital wireframes using industry tools. Training centers that emphasize structured practice often encourage students to justify every element placement rather than decorate screens.
Step 5: Validate with Users
Conduct quick usability checks. Even informal feedback can uncover navigation flaws early.
Expert Growth Insight
Experienced designers wireframe faster not because they rush, but because they recognize patterns from years of problem-solving.
Conclusion
Wireframes are thinking tools. Mastering them early builds a strong foundation for advanced UX work.