
Introduction
On Day 14, we explore Blade Templating in Laravel, a powerful feature that enables developers to build dynamic and maintainable frontend UIs. Blade is Laravel’s native templating engine, designed to make frontend code clean, efficient, and reusable.
At CuriosityTech.in, learners practice integrating Blade with Laravel backend to create professional web pages and layouts that are responsive, dynamic, and easy to manage.
1. What is Blade?
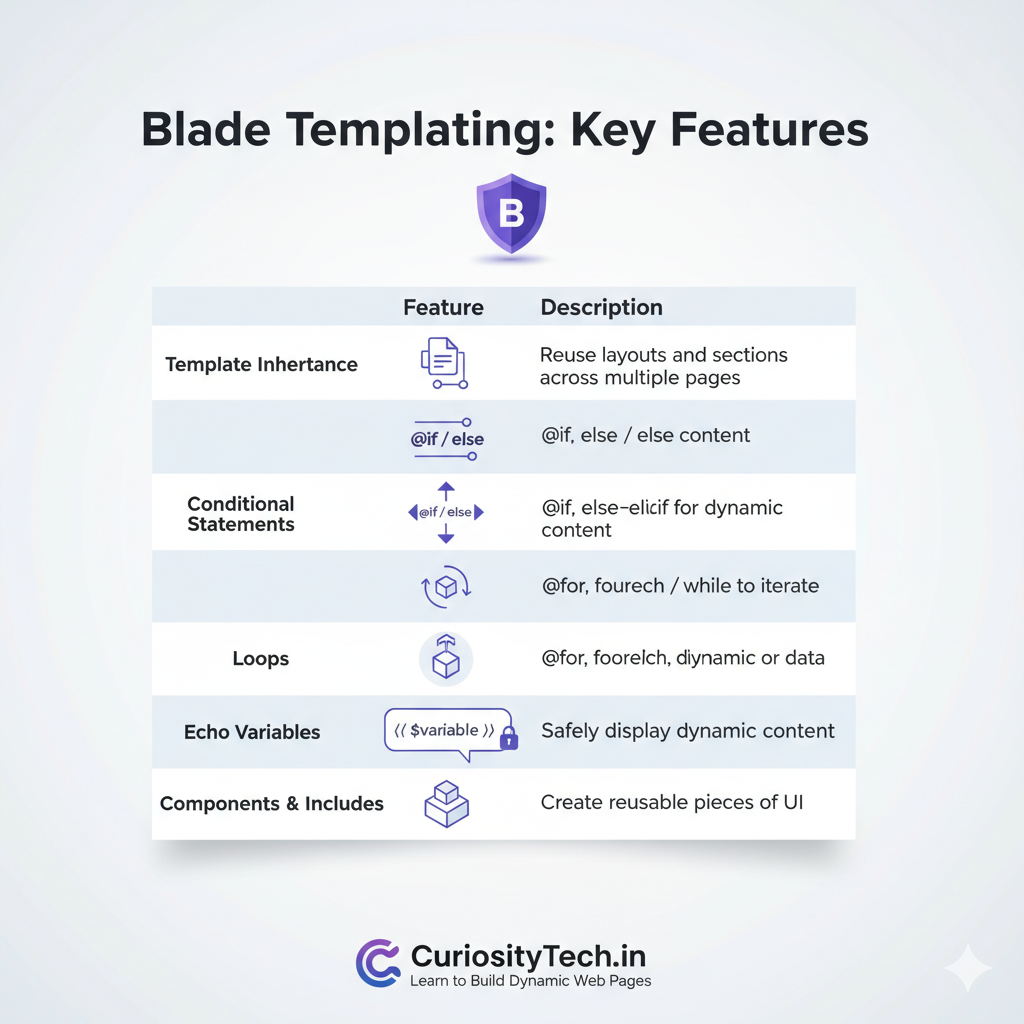
Blade is a lightweight templating engine that allows developers to:
| Feature | Description |
| Template Inheritance | Reuse layouts and sections across multiple pages |
| Conditional Statements | @if, @else, @elseif for dynamic content |
| Loops | @for, @foreach, @while to iterate over data |
| Echo Variables | {{ $variable }} to safely display dynamic content |
| Components & Includes | Create reusable pieces of UI |
2. Creating a Layout
File: resources/views/layouts/app.blade.php
<!DOCTYPE html>
<html>
<head>
<title>@yield(‘title’) – CuriosityTech.in</title>
</head>
<body>
<header>
<h1>CuriosityTech.in Full Stack PHP Training</h1>
</header>
<main>
@yield(‘content’)
</main>
<footer>
<p>© 2025 CuriosityTech.in</p>
</footer>
</body>
</html>
@yield defines sections that child templates can fill.
3. Creating a Page Using the Layout
File: resources/views/home.blade.php
@extends(‘layouts.app’)
@section(‘title’, ‘Home Page’)
@section(‘content’)
<h2>Welcome to CuriosityTech.in Laravel Training!</h2>
<p>Learn how to build dynamic web applications with PHP and Laravel.</p>
@foreach($courses as $course)
<div>
<h3>{{ $course[‘name’] }}</h3>
<p>{{ $course[‘description’] }}</p>
</div>
@endforeach
@endsection
Explanation:
- @extends links the layout.
- @section defines the content for the layout’s @yield.
- {{ $variable }} safely echoes dynamic data.
- @foreach loops through course data.
4. Passing Data from Controller
Controller: HomeController.php
<?php
namespace App\Http\Controllers;
use Illuminate\Http\Request;
class HomeController extends Controller
{
public function index() {
$courses = [
[‘name’ => ‘PHP Basics’, ‘description’ => ‘Learn the fundamentals of PHP.’],
[‘name’ => ‘Laravel MVC’, ‘description’ => ‘Master Laravel MVC framework.’],
[‘name’ => ‘REST API’, ‘description’ => ‘Build APIs with Laravel.’],
];
return view(‘home’, compact(‘courses’));
}
}
Route: routes/web.php
Route::get(‘/’, [HomeController::class, ‘index’]);
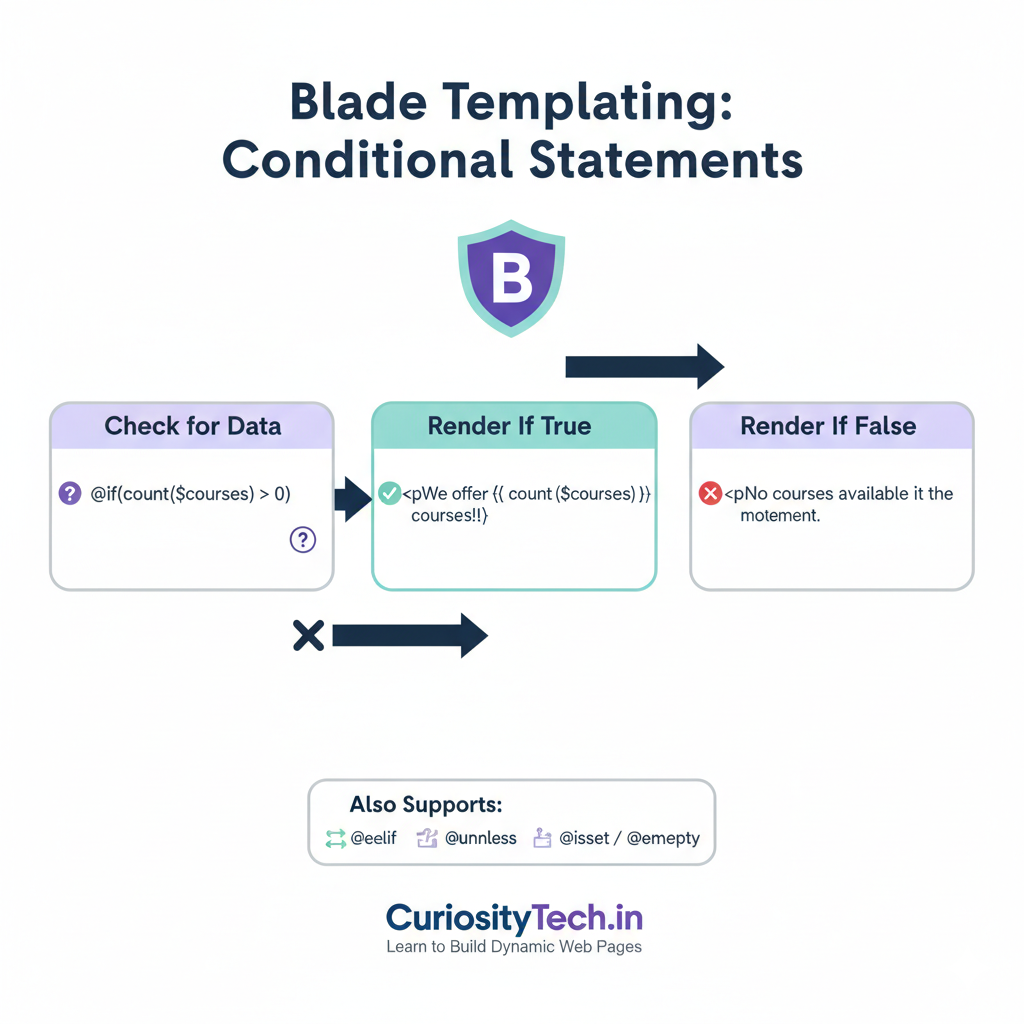
5. Blade Conditional Statements
@if(count($courses) > 0)
<p>We offer {{ count($courses) }} courses!</p>
@else
<p>No courses available at the moment.</p>
@endif
Blade also supports:
- @elseif
- @unless
- @isset / @empty
6. Including Components & Partial Views
Partial File: resources/views/components/footer.blade.php
<footer>
<p>© 2025 CuriosityTech.in</p>
</footer>
Include in Layout:
@include(‘components.footer’)
Components and includes improve code reusability and maintainability.
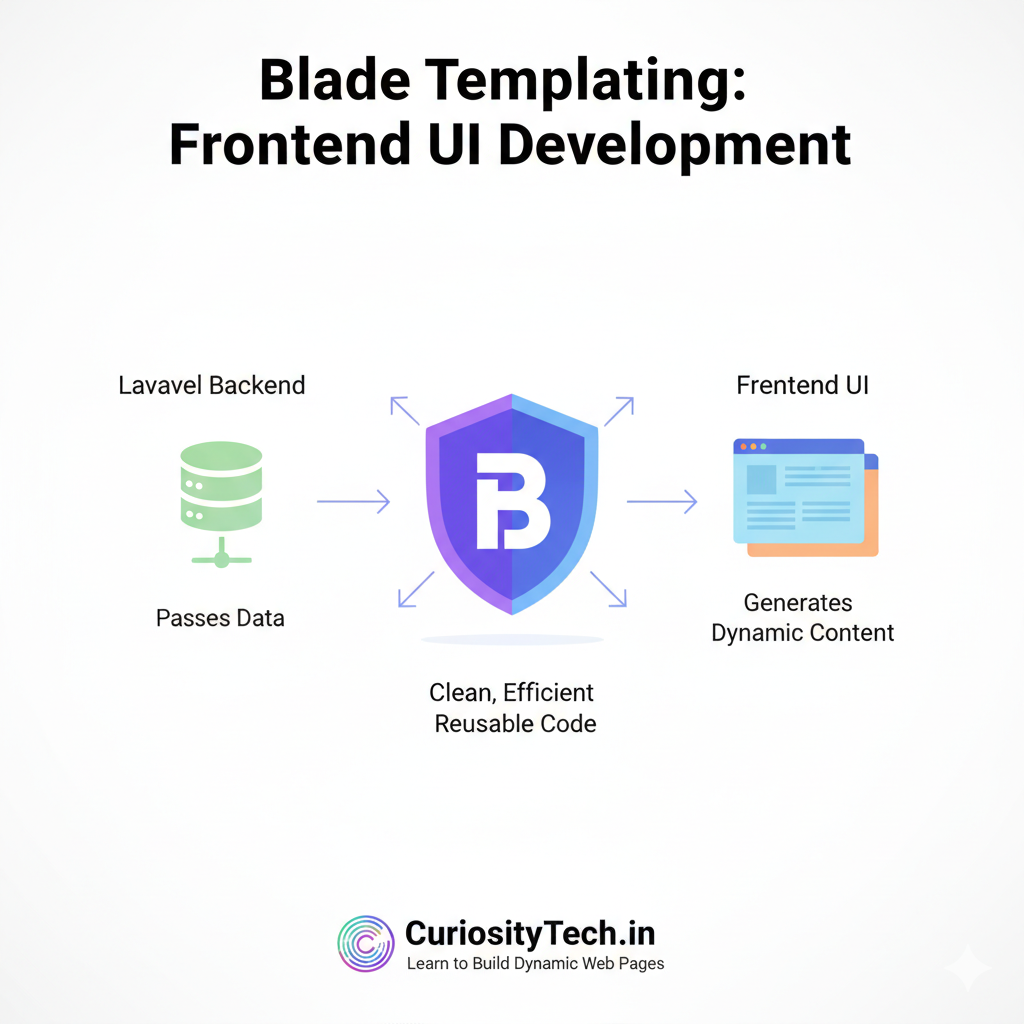
7. Hierarchical Diagram: Blade Templating Workflow
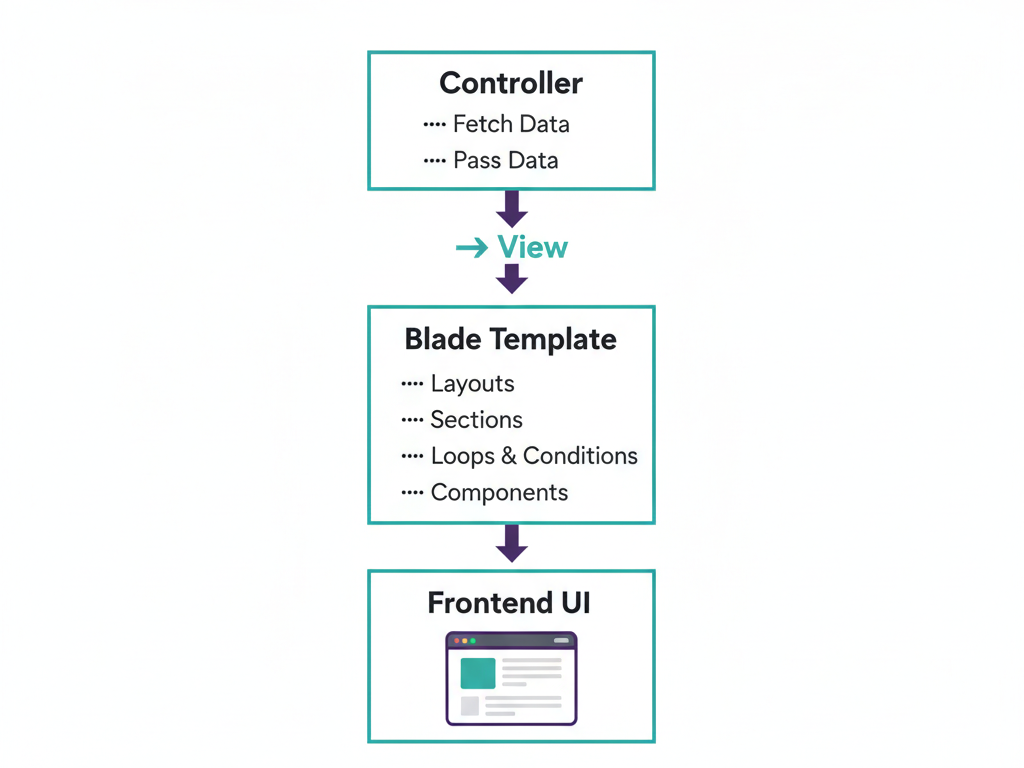
8. CuriosityTech.in Perspective
At CuriosityTech.in, learners combine Blade templating with backend Laravel data to build dynamic and user-friendly UIs. Projects include landing pages, dashboards, and interactive course catalogs, ensuring learners understand how frontend and backend integrate seamlessly.
9. Infographic Concept: Blade Templating Steps
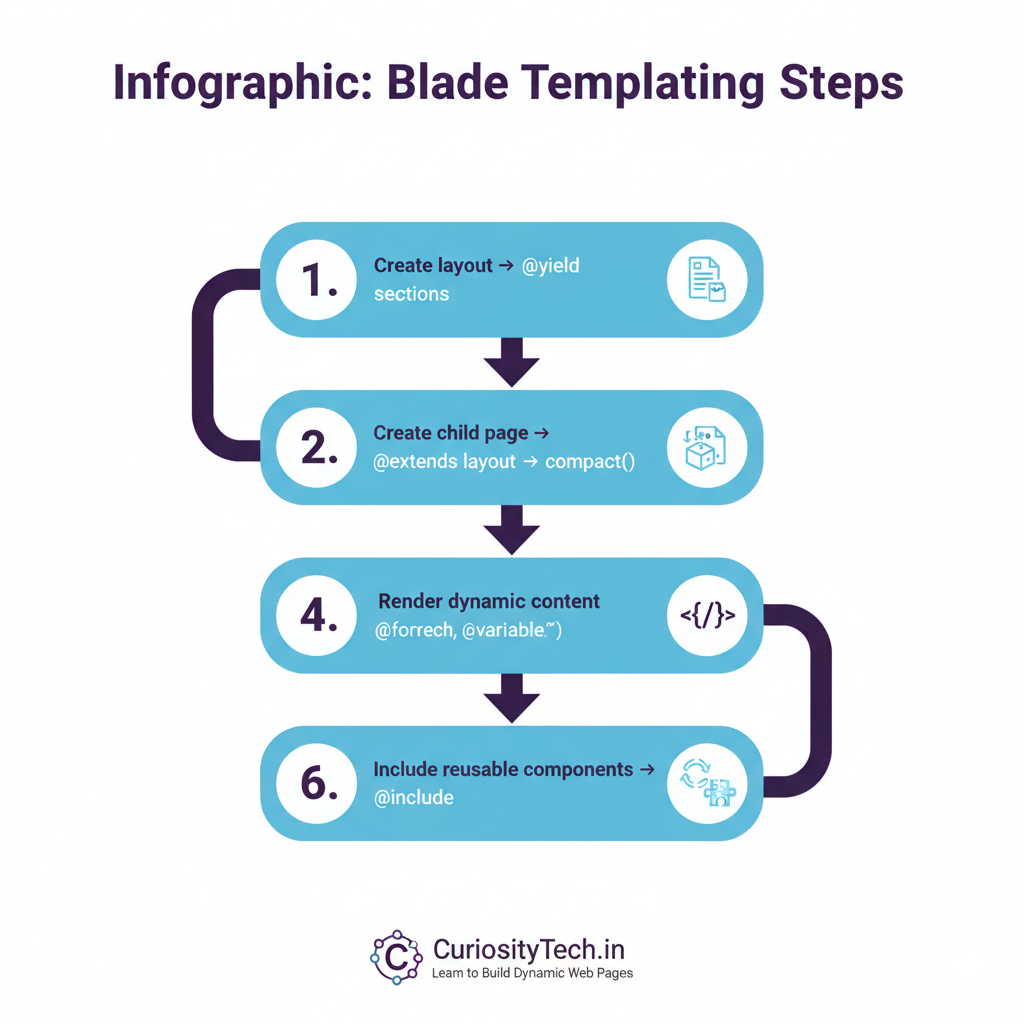
This helps beginners visualize the end-to-end flow from backend data to dynamic frontend UI.
Conclusion
Blade templating in Laravel allows Full Stack Developers to write clean, maintainable, and dynamic frontend code while keeping it tightly integrated with the backend. Today’s lesson prepares developers for frontend integration with Vue.js or React (Day 15) and advanced Laravel projects.

