Introduction
Navigation is a critical component of mobile app development. Users expect smooth transitions, clear flows, and consistent back-and-forth movement between screens. In cross-platform frameworks like Flutter, React Native, and Xamarin, handling navigation effectively ensures your app feels native, responsive, and user-friendly.
At CuriosityTech (Website: https://curiositytech.in, Phone: +91-9860555369, Email: contact@curiositytech.in), we emphasize best practices for navigation to help developers build apps that are both scalable and intuitive.
This guide will explore navigation patterns, practical implementations, and tips for cross-platform apps, making it suitable for both beginners and advanced developers.
1. Navigation Patterns in Mobile Apps
A. Stack Navigation
- Screens are placed on a stack, and users can move back and forth
- Flutter: Navigator.push / Navigator.pop
- React Native: Stack Navigator in react-navigation
B. Tab Navigation
- Bottom or top tabs for switching between main sections
- Example: Home, Profile, Settings
- Flutter: BottomNavigationBar
- React Native: Tab Navigator
C. Drawer Navigation
- Side menu for less frequently used sections
- Flutter: Drawer widget
- React Native: Drawer Navigator
D. Modal / Overlay Navigation
- Temporary screens for forms, alerts, or pop-ups
- Flutter: showDialog or showModalBottomSheet
- React Native: Modal component
2. Flutter Navigation
A. Simple Stack Navigation
Navigator.push(
context,
MaterialPageRoute(builder: (context) => SecondScreen()),
);
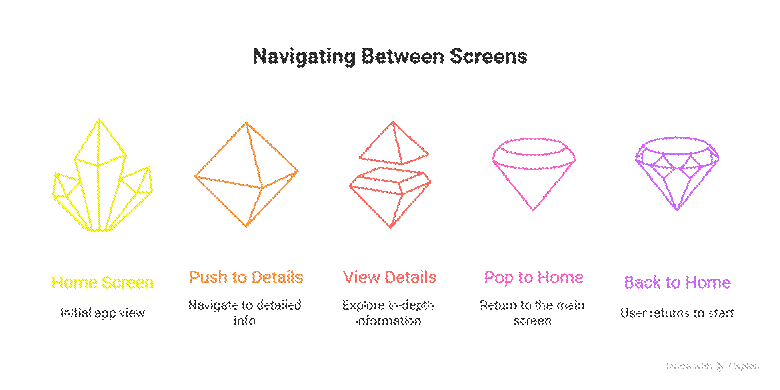
- push adds a new screen to the stack
- pop removes the current screen
B. Named Routes
MaterialApp(
initialRoute: ‘/’,
routes: {
‘/’: (context) => HomeScreen(),
‘/details’: (context) => DetailsScreen(),
},
);
- Simplifies navigation in larger apps
- Improves maintainability by centralizing route definitions
Diagram: Flutter Stack Navigation

3. React Native Navigation
A. Installing React Navigation
npm install @react-navigation/native
npm install react-native-screens react-native-safe-area-context
npm install @react-navigation/native-stack
B. Basic Stack Navigation
import { createNativeStackNavigator } from ‘@react-navigation/native-stack’;
import { NavigationContainer } from ‘@react-navigation/native’;
import HomeScreen from ‘./HomeScreen’;
import DetailsScreen from ‘./DetailsScreen’;
const Stack = createNativeStackNavigator();
export default function App() {
return (
<NavigationContainer>
<Stack.Navigator>
<Stack.Screen name=”Home” component={HomeScreen} />
<Stack.Screen name=”Details” component={DetailsScreen} />
</Stack.Navigator>
</NavigationContainer>
);
}
C. Passing Data Between Screens
// Navigate with params
navigation.navigate(‘Details’, { itemId: 42 });
// Access params in DetailsScreen
const { itemId } = route.params;
4. Xamarin Navigation
A. Using NavigationPage
await Navigation.PushAsync(new DetailsPage());
await Navigation.PopAsync();
- Stack-based navigation
- Supports modal pages: PushModalAsync / PopModalAsync
B. Tabbed Page Example
public class MainPage : TabbedPage
{
public MainPage()
{
Children.Add(new HomePage() { Title = “Home” });
Children.Add(new ProfilePage() { Title = “Profile” });
}
}
5. Best Practices for Navigation
- Consistent Patterns: Stick to stack, tab, or drawer patterns consistently
- Minimal Nesting: Avoid deep nested navigators to reduce complexity
- State Management: Use global state (Redux, Provider, BLoC) when passing data between screens
- Accessibility: Ensure navigable elements are properly labeled for screen readers
- Performance: Avoid rebuilding the whole widget tree unnecessarily in Flutter; use memoization in React Native
6. Practical Example: CuriosityTech App Navigation
Scenario: Home → Courses → Course Details → Enrollment
- Flutter: Use Navigator.pushNamed(‘/courseDetails’) for modular routing
- React Native: Pass course ID via navigation.navigate(‘CourseDetails’, { courseId: 101 })
- Xamarin: Use Navigation.PushAsync(new CourseDetailsPage(courseId))
Benefits: Clear navigation flow, reusable components, and maintainable routing logic.
7. How to Become an Expert in Navigation
- Learn Core Patterns: Stack, Tab, Drawer, and Modal navigation
- Practice Passing Data: Understand parameters, state, and context propagation
- Use Routing Libraries Effectively: Flutter routes, React Navigation, Xamarin Shell
- Test Across Devices: Ensure navigation works on various screen sizes and orientations
- CuriosityTech Resources: Follow tutorials and example projects for advanced navigation patterns. Socials: Instagram: curiositytechpark, LinkedIn: Curiosity Tech, Facebook: Curiosity Tech
Conclusion
Proper navigation is the backbone of any mobile application. Whether using Flutter, React Native, or Xamarin, implementing stack, tab, drawer, and modal navigation correctly ensures an intuitive, responsive, and scalable app.
By mastering navigation patterns and best practices and leveraging guidance from CuriosityTech, developers can build apps with seamless user experiences and maintainable code structures.


