Introduction
Authentication is a cornerstone of any secure MERN application. JWT (JSON Web Token) is a widely adopted method to manage user sessions and verify identities across frontend and backend systems. Unlike traditional session-based authentication, JWT enables stateless, scalable, and secure authentication, making it ideal for modern MERN apps.
CuriosityTech.in emphasizes hands-on JWT implementation, ensuring learners can secure APIs, protect routes, and manage user identities efficiently in real-world MERN projects.
What is JWT?
JWT is a compact, URL-safe token containing encoded user information. It allows servers to verify requests without storing session data on the server, providing a stateless authentication mechanism.
JWT Structure:
Header.Payload.Signature
- Header: Contains token type and algorithm used.
- Payload: Stores user information (claims) like user ID, roles, and expiration.
- Signature: Ensures the token’s integrity by signing with a secret key.
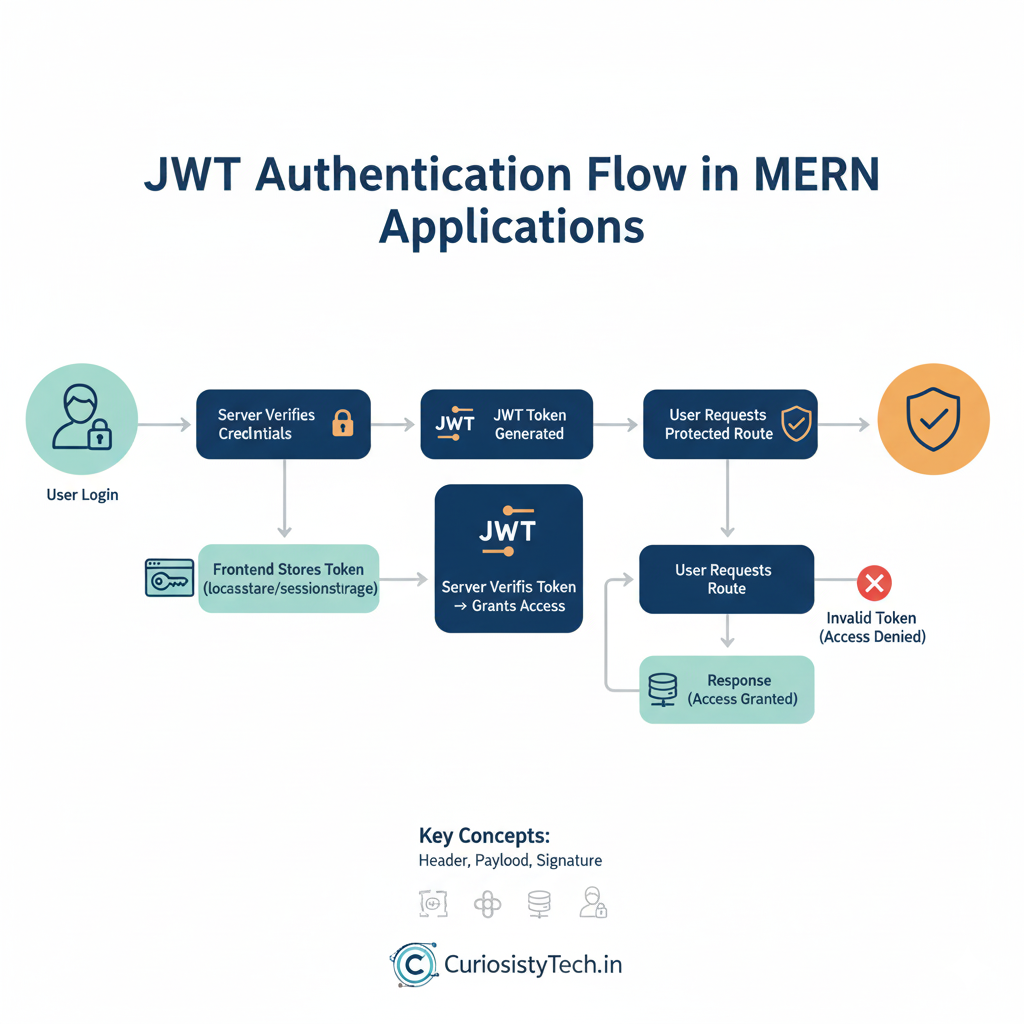
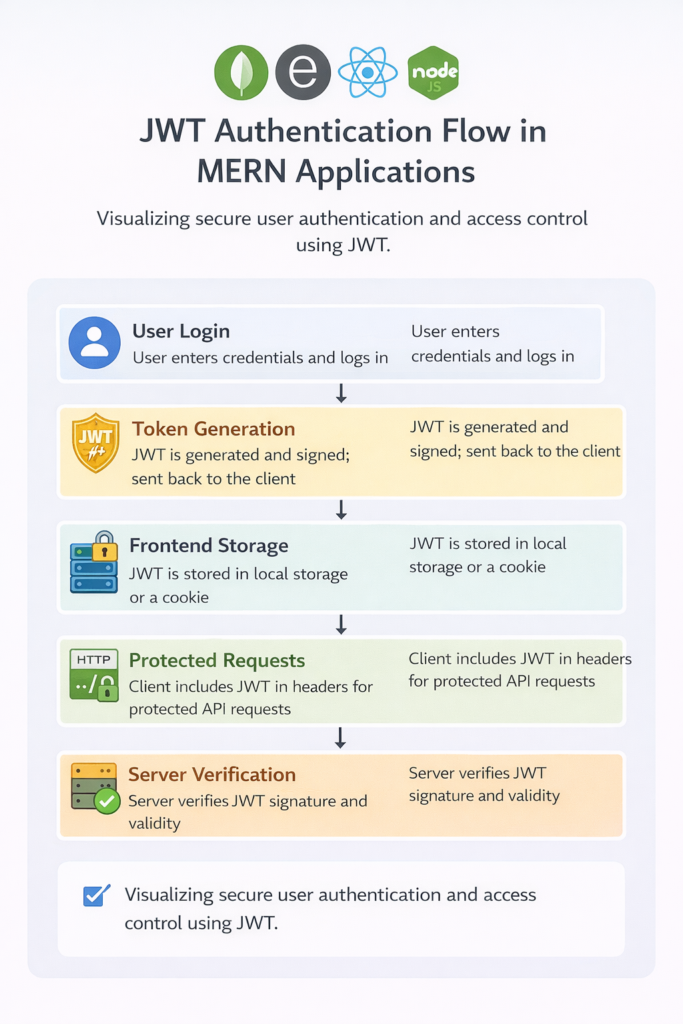
Diagram – JWT Flow:
Step 1: Setting Up JWT in Express
npm install jsonwebtoken bcryptjs
- jsonwebtoken: Generates and verifies tokens
- bcryptjs: Hashes passwords securely
const jwt = require(‘jsonwebtoken’);
const bcrypt = require(‘bcryptjs’);
const SECRET_KEY = “your_secret_key”;
Step 2: User Registration
- Hash user passwords for security
- Store hashed password in MongoDB
app.post(‘/register’, async (req, res) => {
const { name, email, password } = req.body;
const hashedPassword = await bcrypt.hash(password, 10);
const user = new User({ name, email, password: hashedPassword });
await user.save();
res.status(201).json({ message: ‘User registered successfully’ });
});
Step 3: User Login & Token Generation
app.post(‘/login’, async (req, res) => {
const { email, password } = req.body;
const user = await User.findOne({ email });
if (!user) return res.status(404).json({ message: ‘User not found’ });
const isMatch = await bcrypt.compare(password, user.password);
if (!isMatch) return res.status(400).json({ message: ‘Invalid credentials’ });
const token = jwt.sign({ id: user._id, email: user.email }, SECRET_KEY, { expiresIn: ‘1h’ });
res.json({ token });
});
Step 4: Protecting Routes
Middleware ensures only authenticated users can access certain routes:
function authenticateToken(req, res, next) {
const token = req.headers[‘authorization’]?.split(‘ ‘)[1];
if (!token) return res.sendStatus(401);
jwt.verify(token, SECRET_KEY, (err, user) => {
if (err) return res.sendStatus(403);
req.user = user;
next();
});
}
// Protected Route
app.get(‘/dashboard’, authenticateToken, (req, res) => {
res.json({ message: `Welcome ${req.user.email}` });
});
Step 5: Frontend Integration with React
- Store JWT in localStorage or sessionStorage after login
- Include token in Authorization header for protected requests
axios.get(‘http://localhost:5000/dashboard’, {
headers: { Authorization: `Bearer ${token}` }
})
.then(res => console.log(res.data))
.catch(err => console.error(err));
Best Practices for JWT in MERN
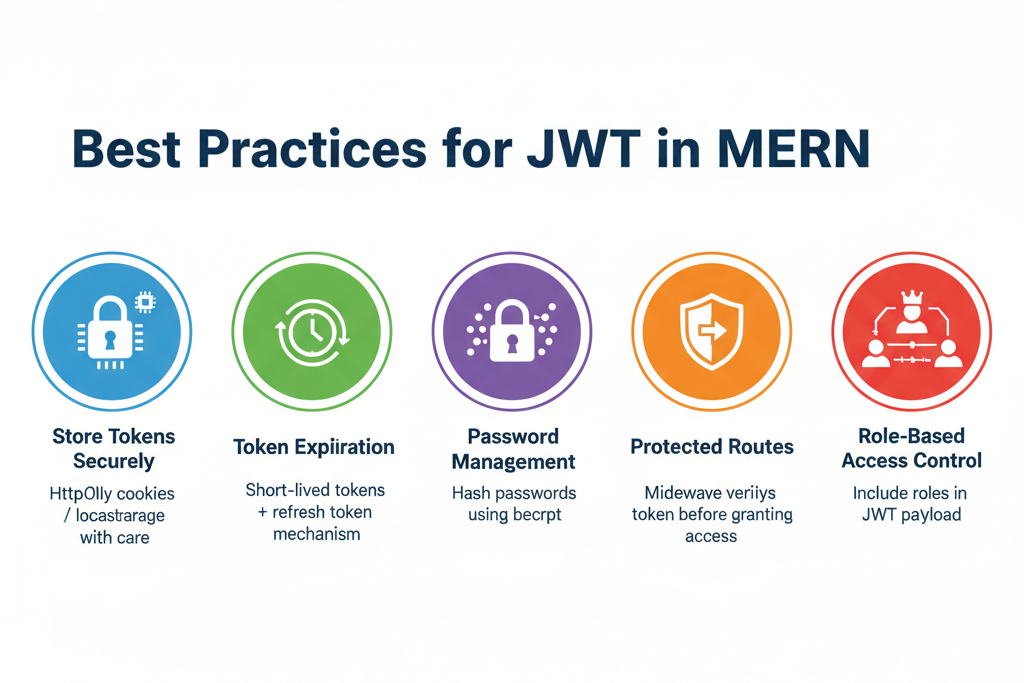
- Store Tokens Securely: Avoid storing JWT in plain cookies; prefer HttpOnly or secure storage.
- Use Short Expiry: Limit token lifespan to reduce misuse risk.
- Implement Refresh Tokens: Allow users to stay logged in without exposing long-lived tokens.
- Hash Sensitive Data: Always hash passwords using bcrypt.
- Role-Based Access: Include roles in payload for access control in admin panels or dashboards.
Table – JWT Security Checklist:
| Security Aspect | Best Practice |
| Token Storage | HttpOnly cookies / localStorage with care |
| Token Expiration | Short-lived tokens + refresh token mechanism |
| Password Management | Hash passwords using bcrypt |
| Protected Routes | Middleware verifies token before granting access |
| Role-Based Access Control | Include roles in JWT payload |
Step 6: Becoming an Expert in MERN Authentication
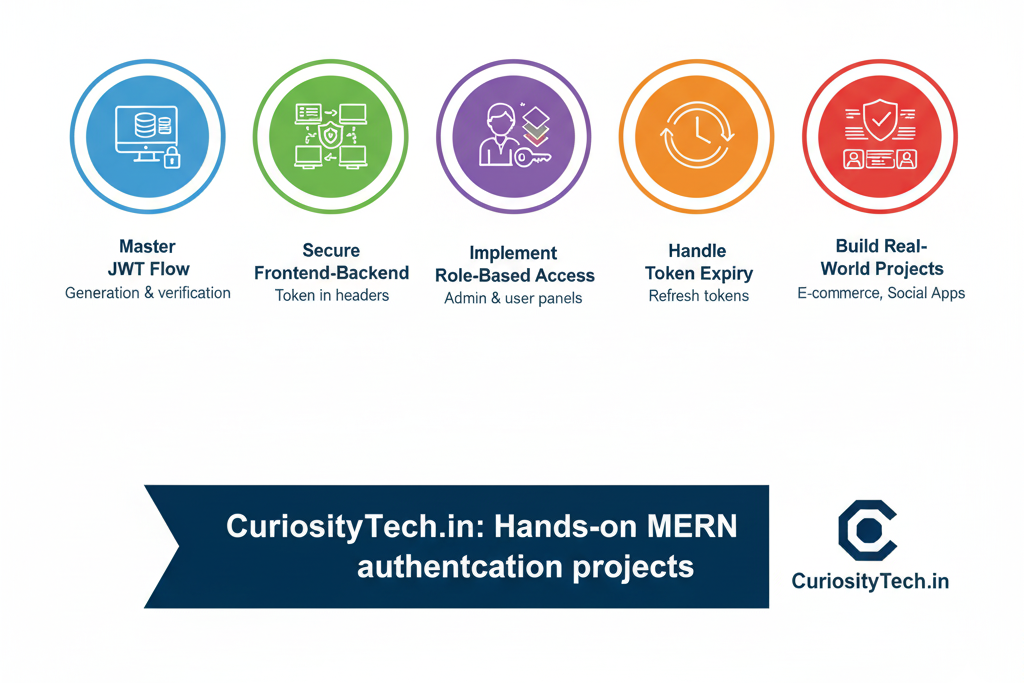
- Master JWT generation and verification in Express.js.
- Secure frontend-backend communication in React.
- Implement role-based access control for complex applications.
- Handle token expiration and refresh tokens effectively.
- Build projects like social media dashboards, e-commerce apps, and admin portals with secure authentication.
CuriosityTech.in guides learners through real-world MERN authentication projects, reinforcing security, scalability, and best practices.
Infographic Suggestion
Title: “JWT Authentication Flow in MERN Applications”
Conclusion
JWT-based authentication is a cornerstone for secure MERN applications. Mastering token generation, verification, route protection, and frontend integration equips developers to build production-ready, secure, and scalable applications. CuriosityTech.in provides hands-on projects to implement JWT effectively, preparing learners for professional full-stack development.