Introduction
Deployment is the final yet critical step in MERN Stack development. Building a feature-rich application is incomplete without making it accessible to users online. Deployment transforms your local development into a live, production-ready application.
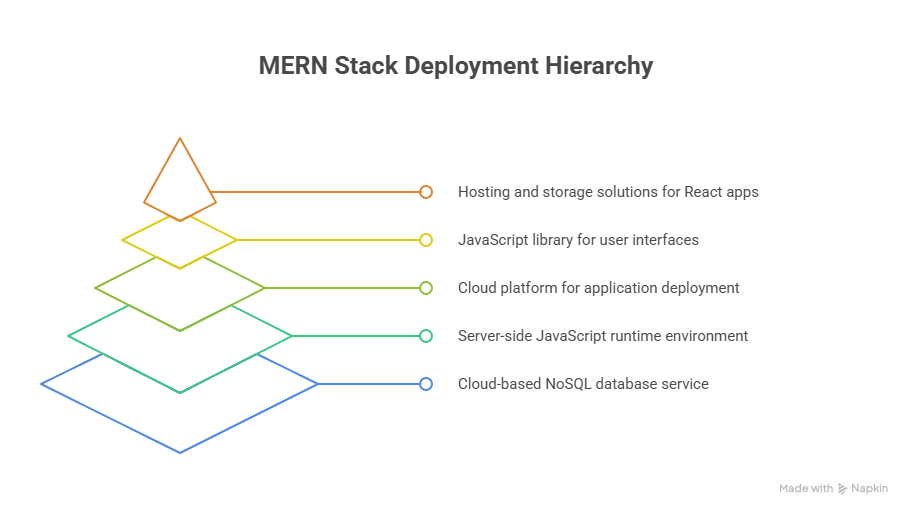
CuriosityTech.in emphasizes hands-on deployment strategies, guiding learners to deploy MERN apps on AWS, Heroku, and Vercel, while addressing scalability, performance, and best practices.
Why Deployment Matters
- Accessibility: Users can interact with your application globally.
- Scalability: Production environments handle multiple concurrent users.
- Professionalism: Deploying demonstrates full-stack competence.
- Continuous Learning: Understanding deployment bridges development and operations.
Diagram: Deployment Flow for MERN Stack:

Step 1: Preparing Your MERN Application for Deployment
- Build React Frontend:
- cd client
- npm run build
- Generates optimized production-ready static files in build/ folder.
- Environment Variables:
- Separate development and production .env files.
- Ensure backend API URLs are set correctly in React (REACT_APP_API_URL).
- Static File Serving in Express:
const path = require(‘path’);
app.use(express.static(path.join(__dirname, ‘client/build’)));
app.get(‘*’, (req, res) => {
res.sendFile(path.resolve(__dirname, ‘client’, ‘build’, ‘index.html’));
});
Step 2: Deploying on Heroku
- Install Heroku CLI:
npm install -g heroku
- Login and Initialize:
heroku login
heroku create my-mern-app
- Push Code to Heroku:
git add .
git commit -m “Deploy MERN app”
git push heroku main
- Configure Environment Variables:
heroku config:set MONGO_URI=your_mongodb_connection_string
- Open Application:
heroku open
Benefits: Easy setup, automatic build, free tier for testing.
Step 3: Deploying on Vercel (Frontend Only or Fullstack)
- Install Vercel CLI :- npm i -g vercel
- Login & Deploy :- vercel
- For frontend-only apps, Vercel automatically builds and deploys React.
- Backend APIs can be deployed using serverless functions with Vercel or connected to an external Node.js backend (Heroku/AWS).
Tip: Use vercel.json to define routes, environment variables, and functions.
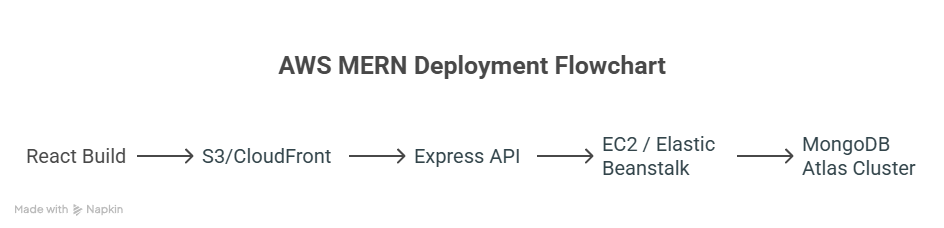
Step 4: Deploying Backend on AWS (EC2 or Elastic Beanstalk)
- EC2 Deployment:
- Launch EC2 instance
- SSH into server, install Node.js, Git, and PM2
- Clone repo, install dependencies, and start app with PM2
- Elastic Beanstalk:
- Upload backend project
- AWS automatically provisions server and load balancer
- Ideal for scalable applications
- MongoDB Atlas for Cloud Database:
- Connect backend to Atlas cluster for managed database services
Diagram – AWS MERN Deployment:
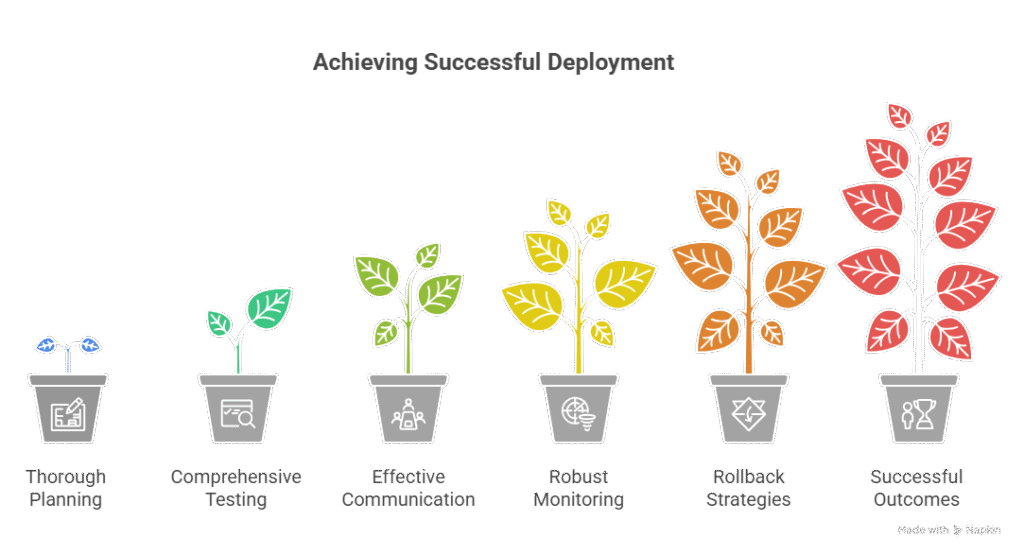
Step 5: Best Practices for Deployment
Step 6: Becoming an Expert in MERN Deployment
- Understand different cloud platforms: AWS, Heroku, Vercel, Netlify.
- Optimize frontend and backend for production: Minification, caching, and compression.
- Configure database connections securely: Use MongoDB Atlas or managed cloud DBs.
- Implement CI/CD: Automate deployment for faster releases.
- Monitor performance: Use logging, monitoring tools, and error tracking for production apps.
CuriosityTech.in provides step-by-step deployment workshops, teaching learners how to host MERN applications reliably, configure environments, and scale apps for real-world usage.
Infographic Suggestion
Conclusion
Deploying MERN applications to AWS, Heroku, or Vercel transforms development projects into live, production-ready products. Mastering deployment ensures global accessibility, scalability, and reliability. CuriosityTech.in offers practical deployment training to prepare developers for professional MERN Stack careers.