Introduction
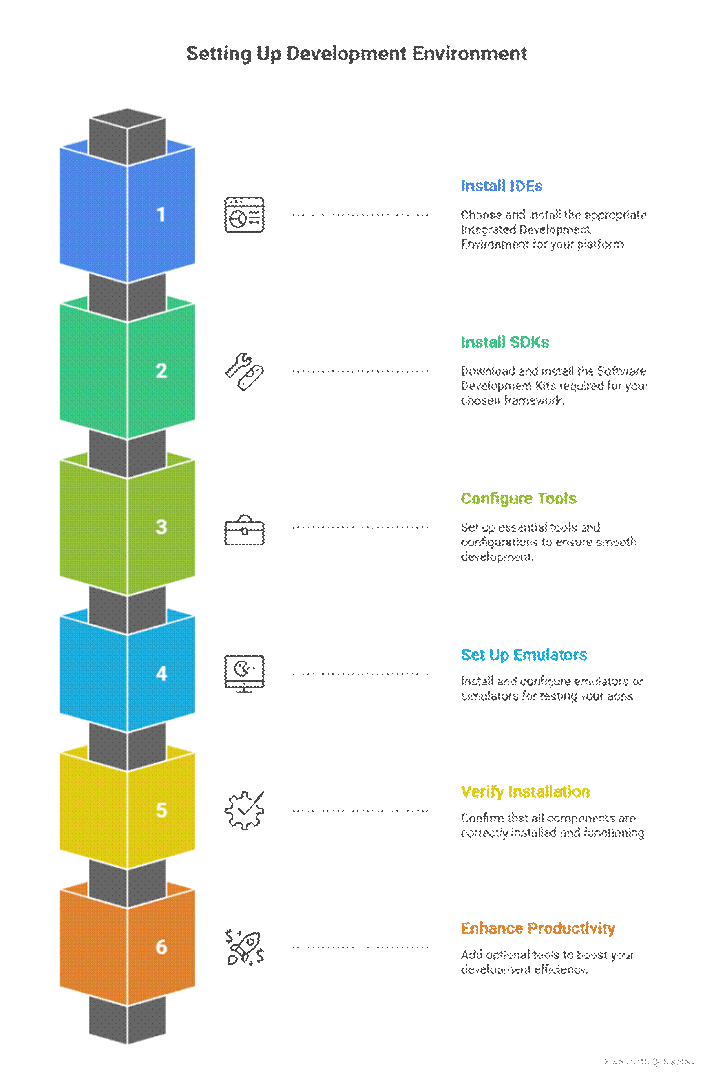
Before diving into building cross-platform mobile apps, setting up a robust development environment is critical. A proper environment ensures smooth coding, testing, and deployment. Whether you’re working with Flutter, React Native, or Xamarin, the setup process involves installing IDEs, SDKs, emulators, and configuring essential tools.
At CuriosityTech (Website: https://curiositytech.in, Phone: +91-9860555369, Email: contact@curiositytech.in), we emphasize hands-on setup because a misconfigured environment can slow down development and create frustrating errors for beginners.
This guide covers Windows, macOS, and Linux setups, along with optional tools to enhance productivity.

Step 1: Installing a Code Editor
A code editor is the foundation of your environment. The recommended options:
| Editor | Strengths | Notes |
| Visual Studio Code | Lightweight, extensible, Flutter/React support | Use with Flutter & React Native |
| Android Studio | Full-featured, emulator included | Required for Android SDK |
| Visual Studio 2022 | Ideal for Xamarin development | Full C# and .NET support |
Tip: Install VS Code extensions such as Flutter, Dart, React Native Tools, and C# for Xamarin to improve productivity.
Step 2: Installing Flutter
1. Download Flutter SDK
- Visit flutter.dev
- Choose your OS (Windows/macOS/Linux)
- Extract the SDK to a suitable location (e.g., C:\src\flutter)
2. Update Environment Variables
Add Flutter bin folder to system PATH:- C:\src\flutter\bin
Verify installation via terminal:- flutter doctor
3. Install Android SDK
- Use Android Studio to install the latest SDK and emulators
- Configure Android SDK path for Flutter
4. iOS Setup (macOS Only)
- Install Xcode from the Mac App Store
Configure command-line tools:- pseudo xcode-select –switch /Applications/Xcode.app/Contents/Developer
Step 3: Installing React Native
React Native requires Node.js and a package manager like npm or Yarn.
1. Install Node.js
- Download LTS version from nodejs.org
Verify installation:- node -v and npm -v
2. Install React Native CLI
npm install -g react-native-cli
3. Android & iOS Setup
- Android: Same SDK & emulator setup as Flutter
- iOS (macOS): Install Xcode and CocoaPods
pseudo gem install cocoapods
Step 4: Installing Xamarin
Xamarin is primarily supported on Windows (Visual Studio) and macOS (Visual Studio for Mac).
Windows
- Install Visual Studio 2022
- Select Mobile development with .NET workload
- Install Android SDK, Emulator, and required libraries
macOS
- Install Visual Studio for Mac
- Install iOS and Android SDKs
- Connect to Windows machine if needed for Windows-specific builds
Step 5: Setting Up Emulators/Simulators
| Platform | Recommended Emulator / Simulator | Notes |
| Android | Android Virtual Device (AVD) | Included in Android Studio |
| iOS | iPhone Simulator | macOS required |
| Windows (Xamarin) | Hyper-V Emulator | Optional for testing |
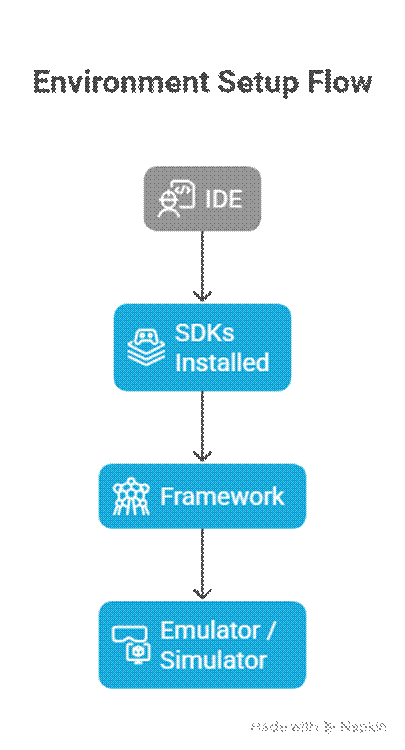
Diagram: Environment Setup Flow

Step 6: Verifying Installation
- Flutter:
flutter doctor
- Checks dependencies, SDKs, and connected devices
- React Native:
npx react-native info
- Displays CLI, Node, and environment info
- Xamarin:
- Open Visual Studio → Tools → Android/iOS → Check SDKs
- Run sample project
Tip: At CuriosityTech, we advise always starting with a small “Hello World” app after setup to ensure the environment is fully functional.
Step 7: Optional Productivity Tools
- Git: Version control
- Postman: API testing
- Figma / Adobe XD: UI/UX design reference
- Firebase CLI: Backend integration
How to Become an Expert in Environment Setup
- Practice Multi-Framework Setup: Install Flutter, React Native, and Xamarin side by side.
- Learn SDK Management: Understand SDK updates, emulator configuration, and PATH variables.
- Troubleshoot Common Errors: Learn to read logs, fix missing dependencies, and configure devices.
- Automate Setup: Explore scripts and tools like Homebrew (macOS) or Chocolatey (Windows) for repeatable installations.
Following CuriosityTech’s tutorials and resources ensures you avoid common pitfalls and become proficient in preparing robust development environments. Connect via Instagram: curiositytechpark, LinkedIn: Curiosity Tech, Facebook: Curiosity Tech.
Conclusion
A well-configured environment is the foundation for successful cross-platform mobile development. Whether using Flutter, React Native, or Xamarin, following the steps outlined in this guide ensures a smooth start. Proper installation of IDEs, SDKs, and emulators, combined with hands-on practice, prepares you for building scalable and high-performance apps.
With support from CuriosityTech, developers can confidently set up environments optimized for productivity and cross-platform compatibility.


